Castle Object Design 210
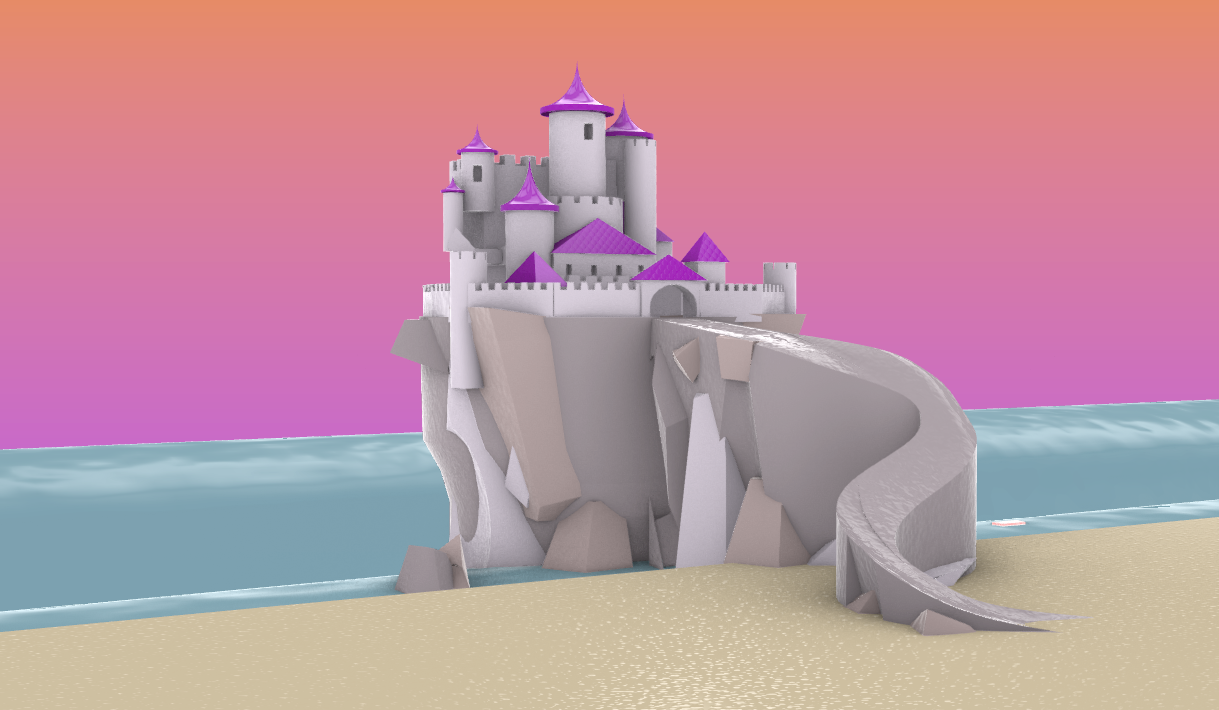
The first project of Object Design 210 was to make a castle in Rhino out of techniques learned in class.
I mostly used pre-established shapes like cubes, rectangles, cylinders, and pyramids. To change up the shapes to make the environment I manipulated the faces and edges of shapes. As well to make some of the castle walls and rocks I used boolean difference to cut a hole in the objects. However, for more complex shapes that weren't premade, I drew them instead and extruded them.For this project, I started by sketching the basic look and floor plan. In Rhino I started to build the castle in a circle as a guideline for how big I wanted the castle. After the castle was done I made the environment on separate layers and was inspired to play with lighting and materials. To make the castle look like it was part of the world. As for the materials, everything is made out of plastic well playing around with the transparency and texture of the surfaces.
(process photos at the bottom)
I mainly struggled with not knowing how to make shapes look the way I wanted them to. I ended up looking at how to manipulate shapes and found the shortcut ctrl + shift (PC). The shortcut allows you to be able to select the edges and faces of a shape for a more precise moment or change the shape. After I found this shortcut the rest of the process was a lot faster and easier.
I personally think I was successful in transferring the castle from a 2D sketch into a 3D object while still keeping the basic shape and concept while fleshing it out.
Process photos:


Comments
Post a Comment